INFO
This is still a draft and not done.
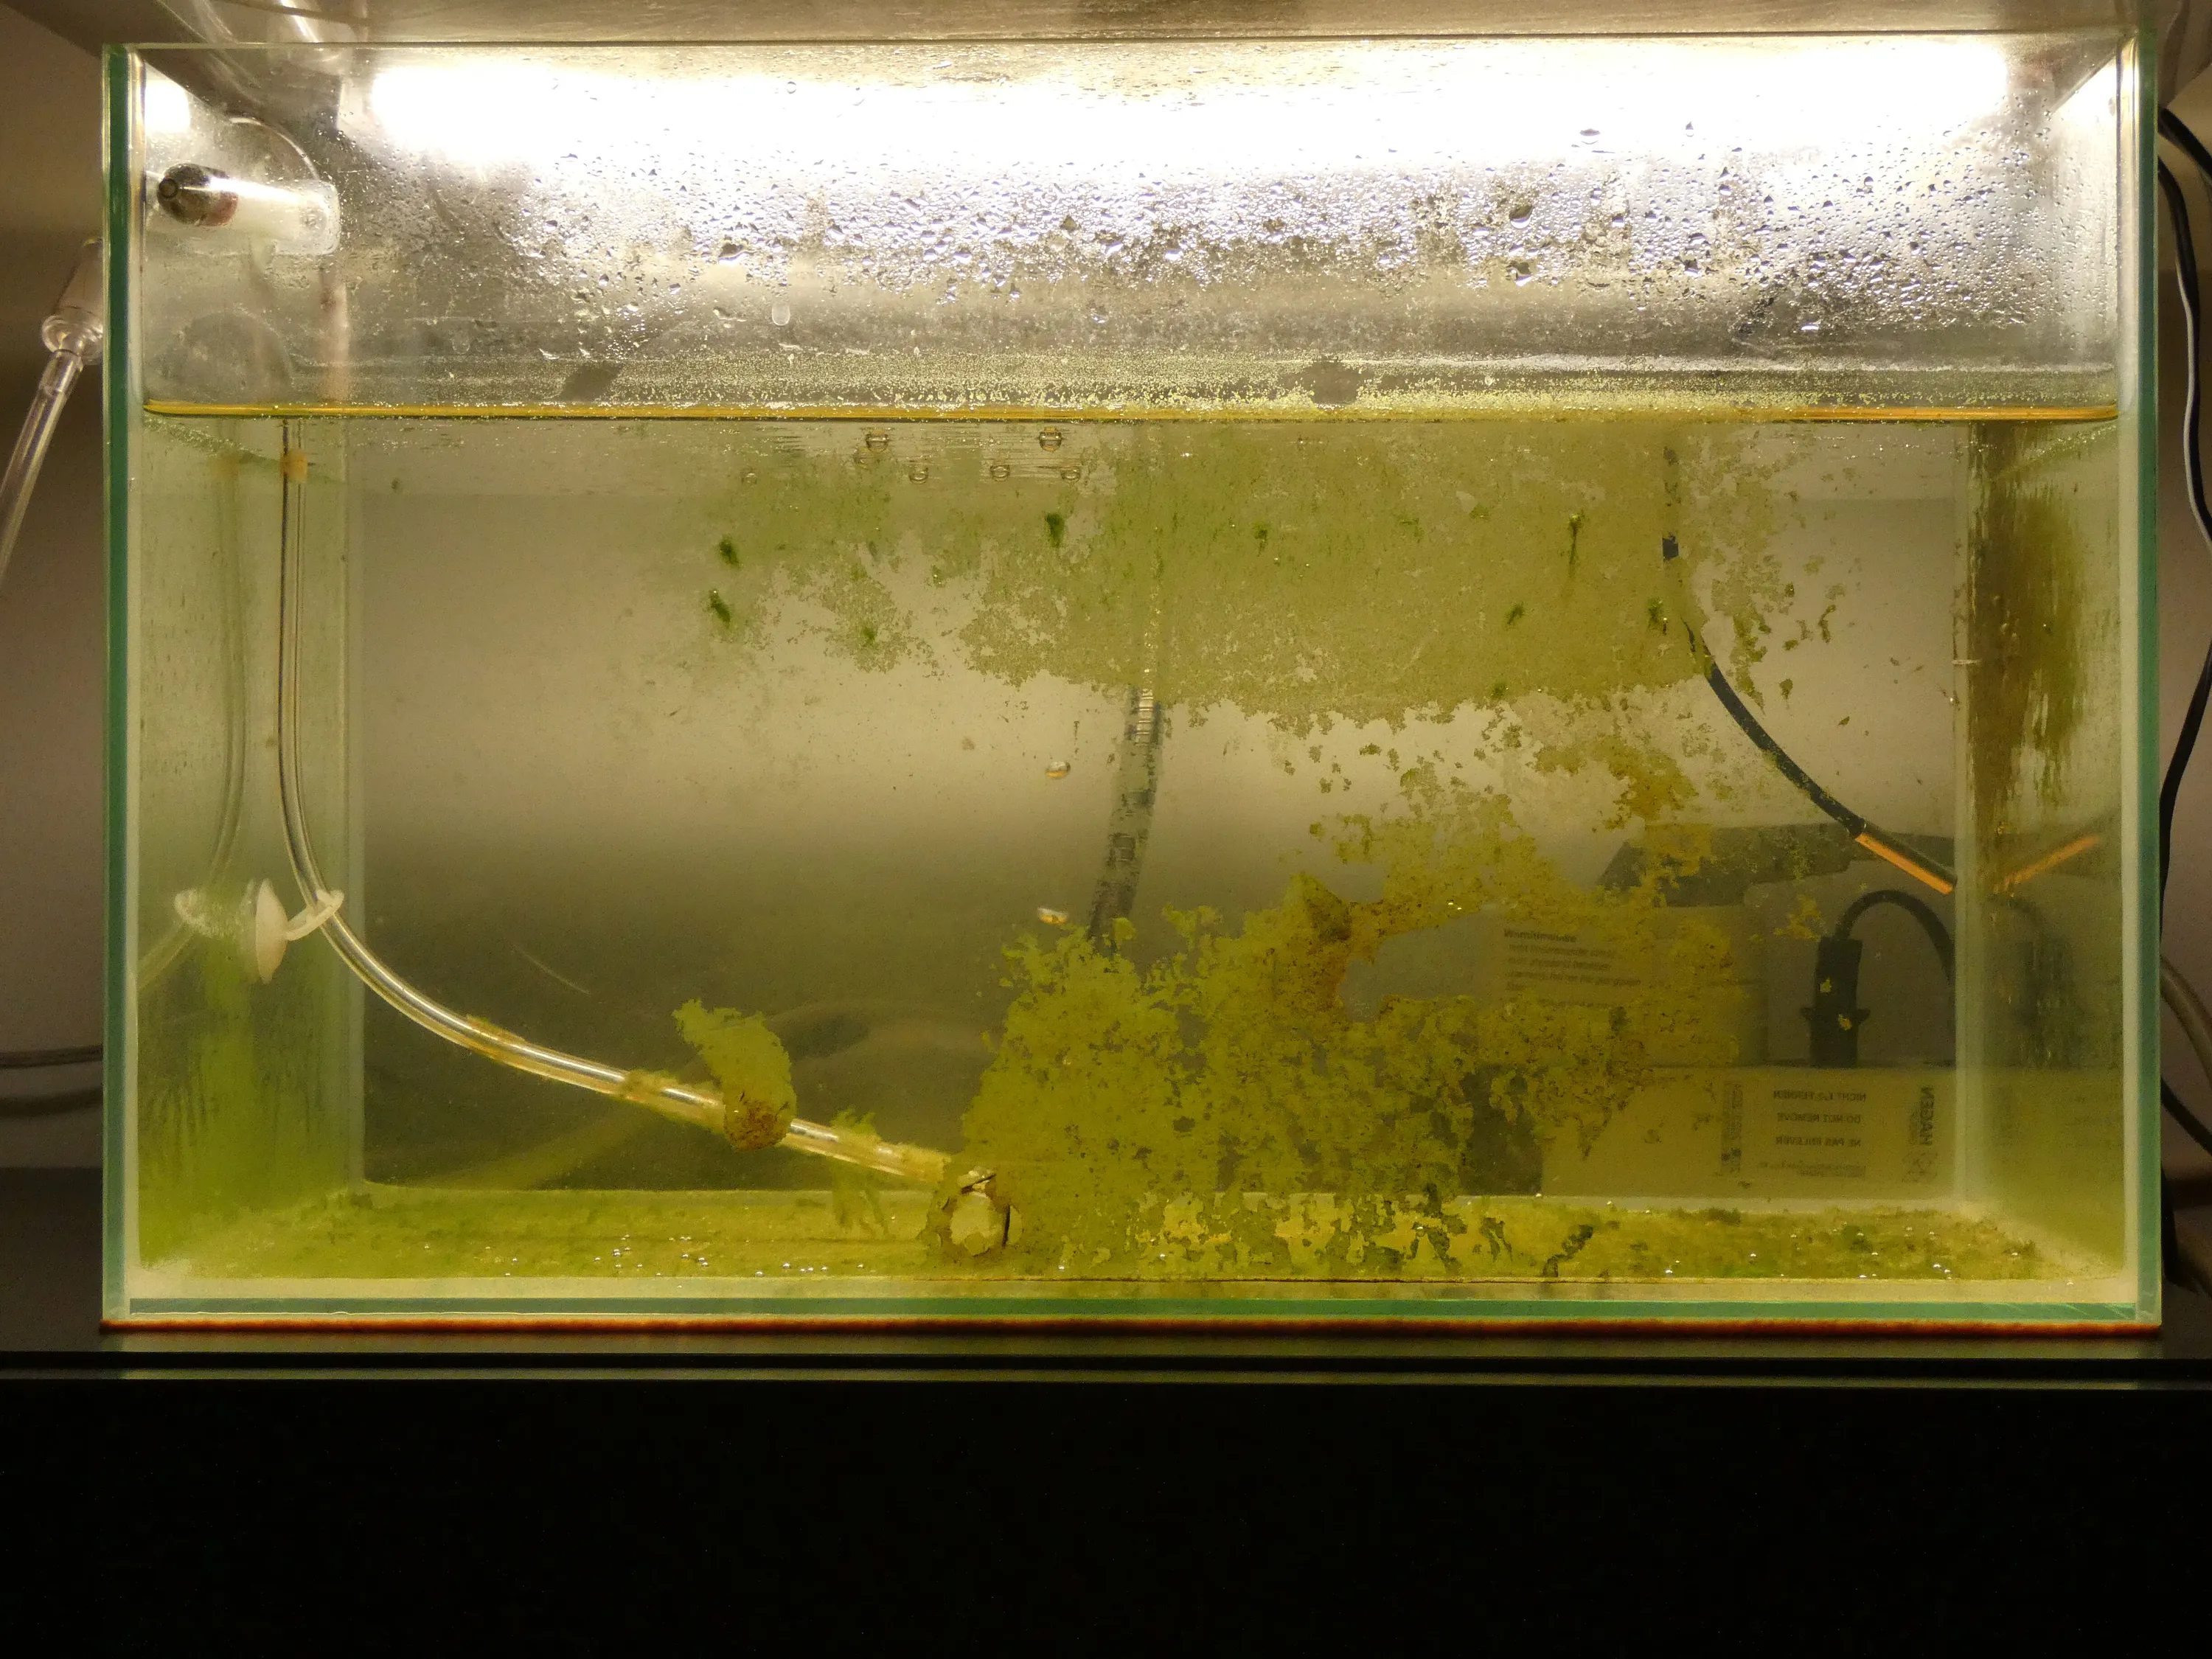
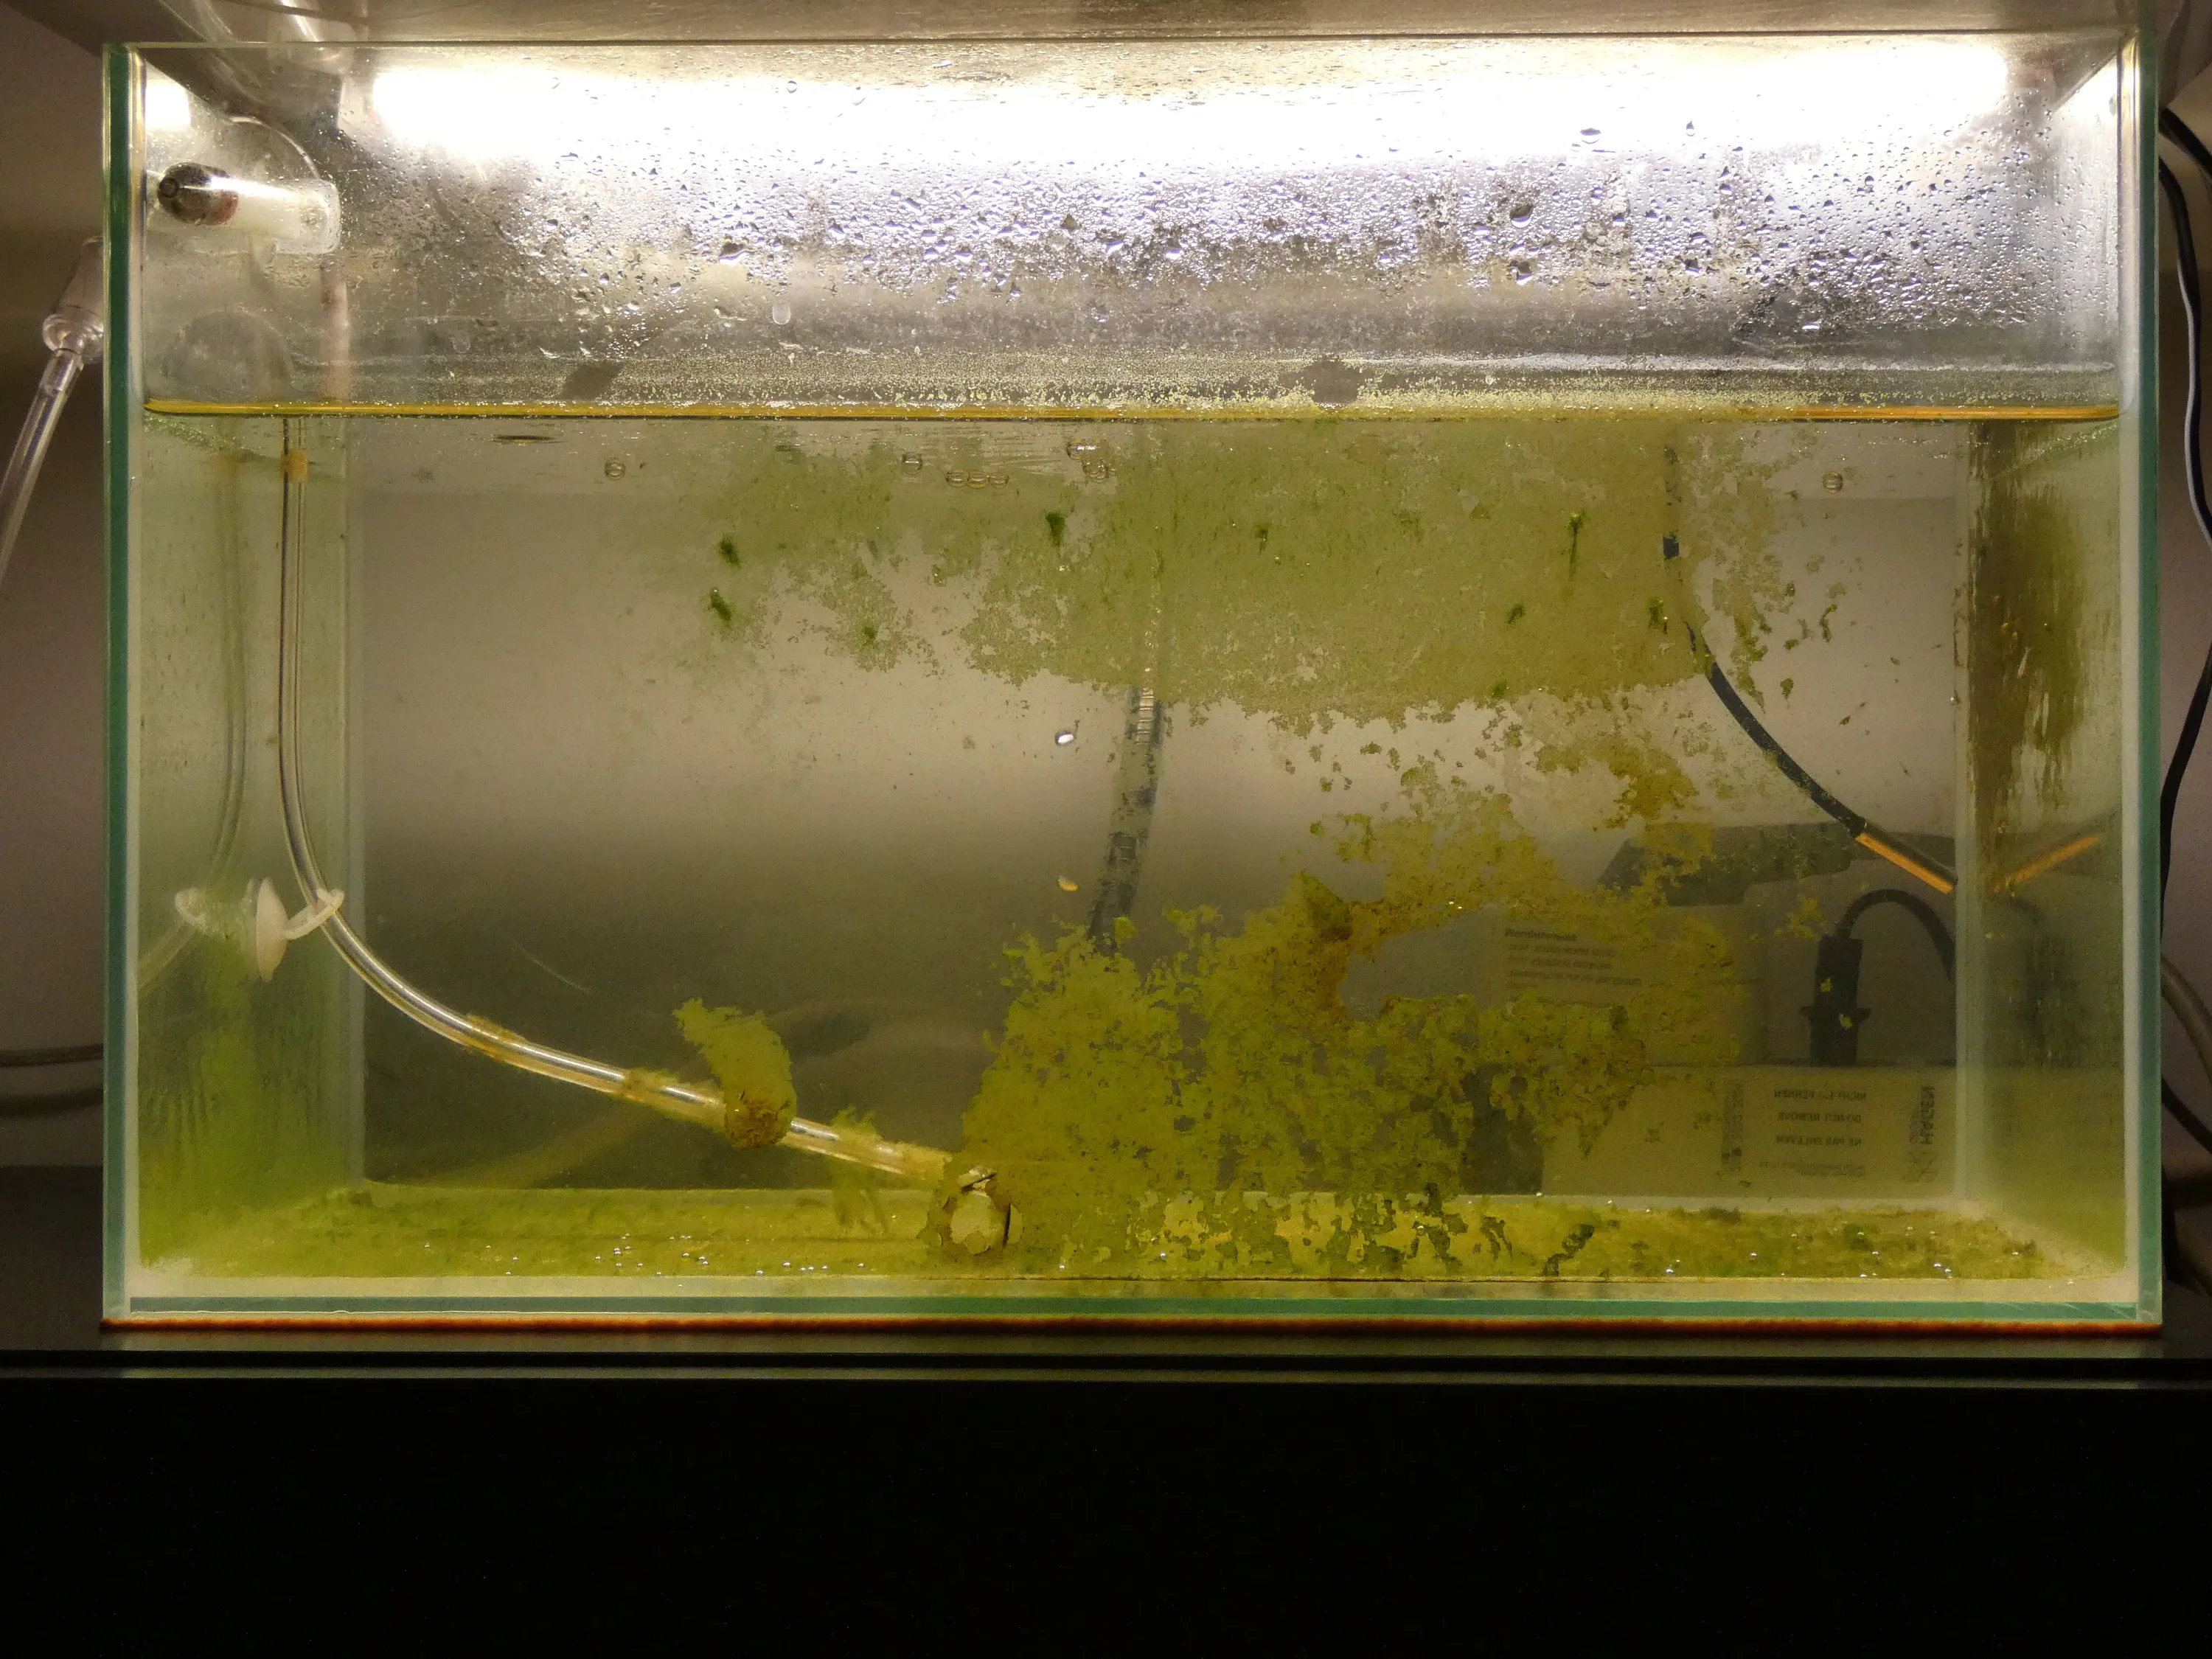
I've built my own aquarium lamp for my 25l tank. I've wanted something cheaper and smarter than the commercially available solutions.
My Plan
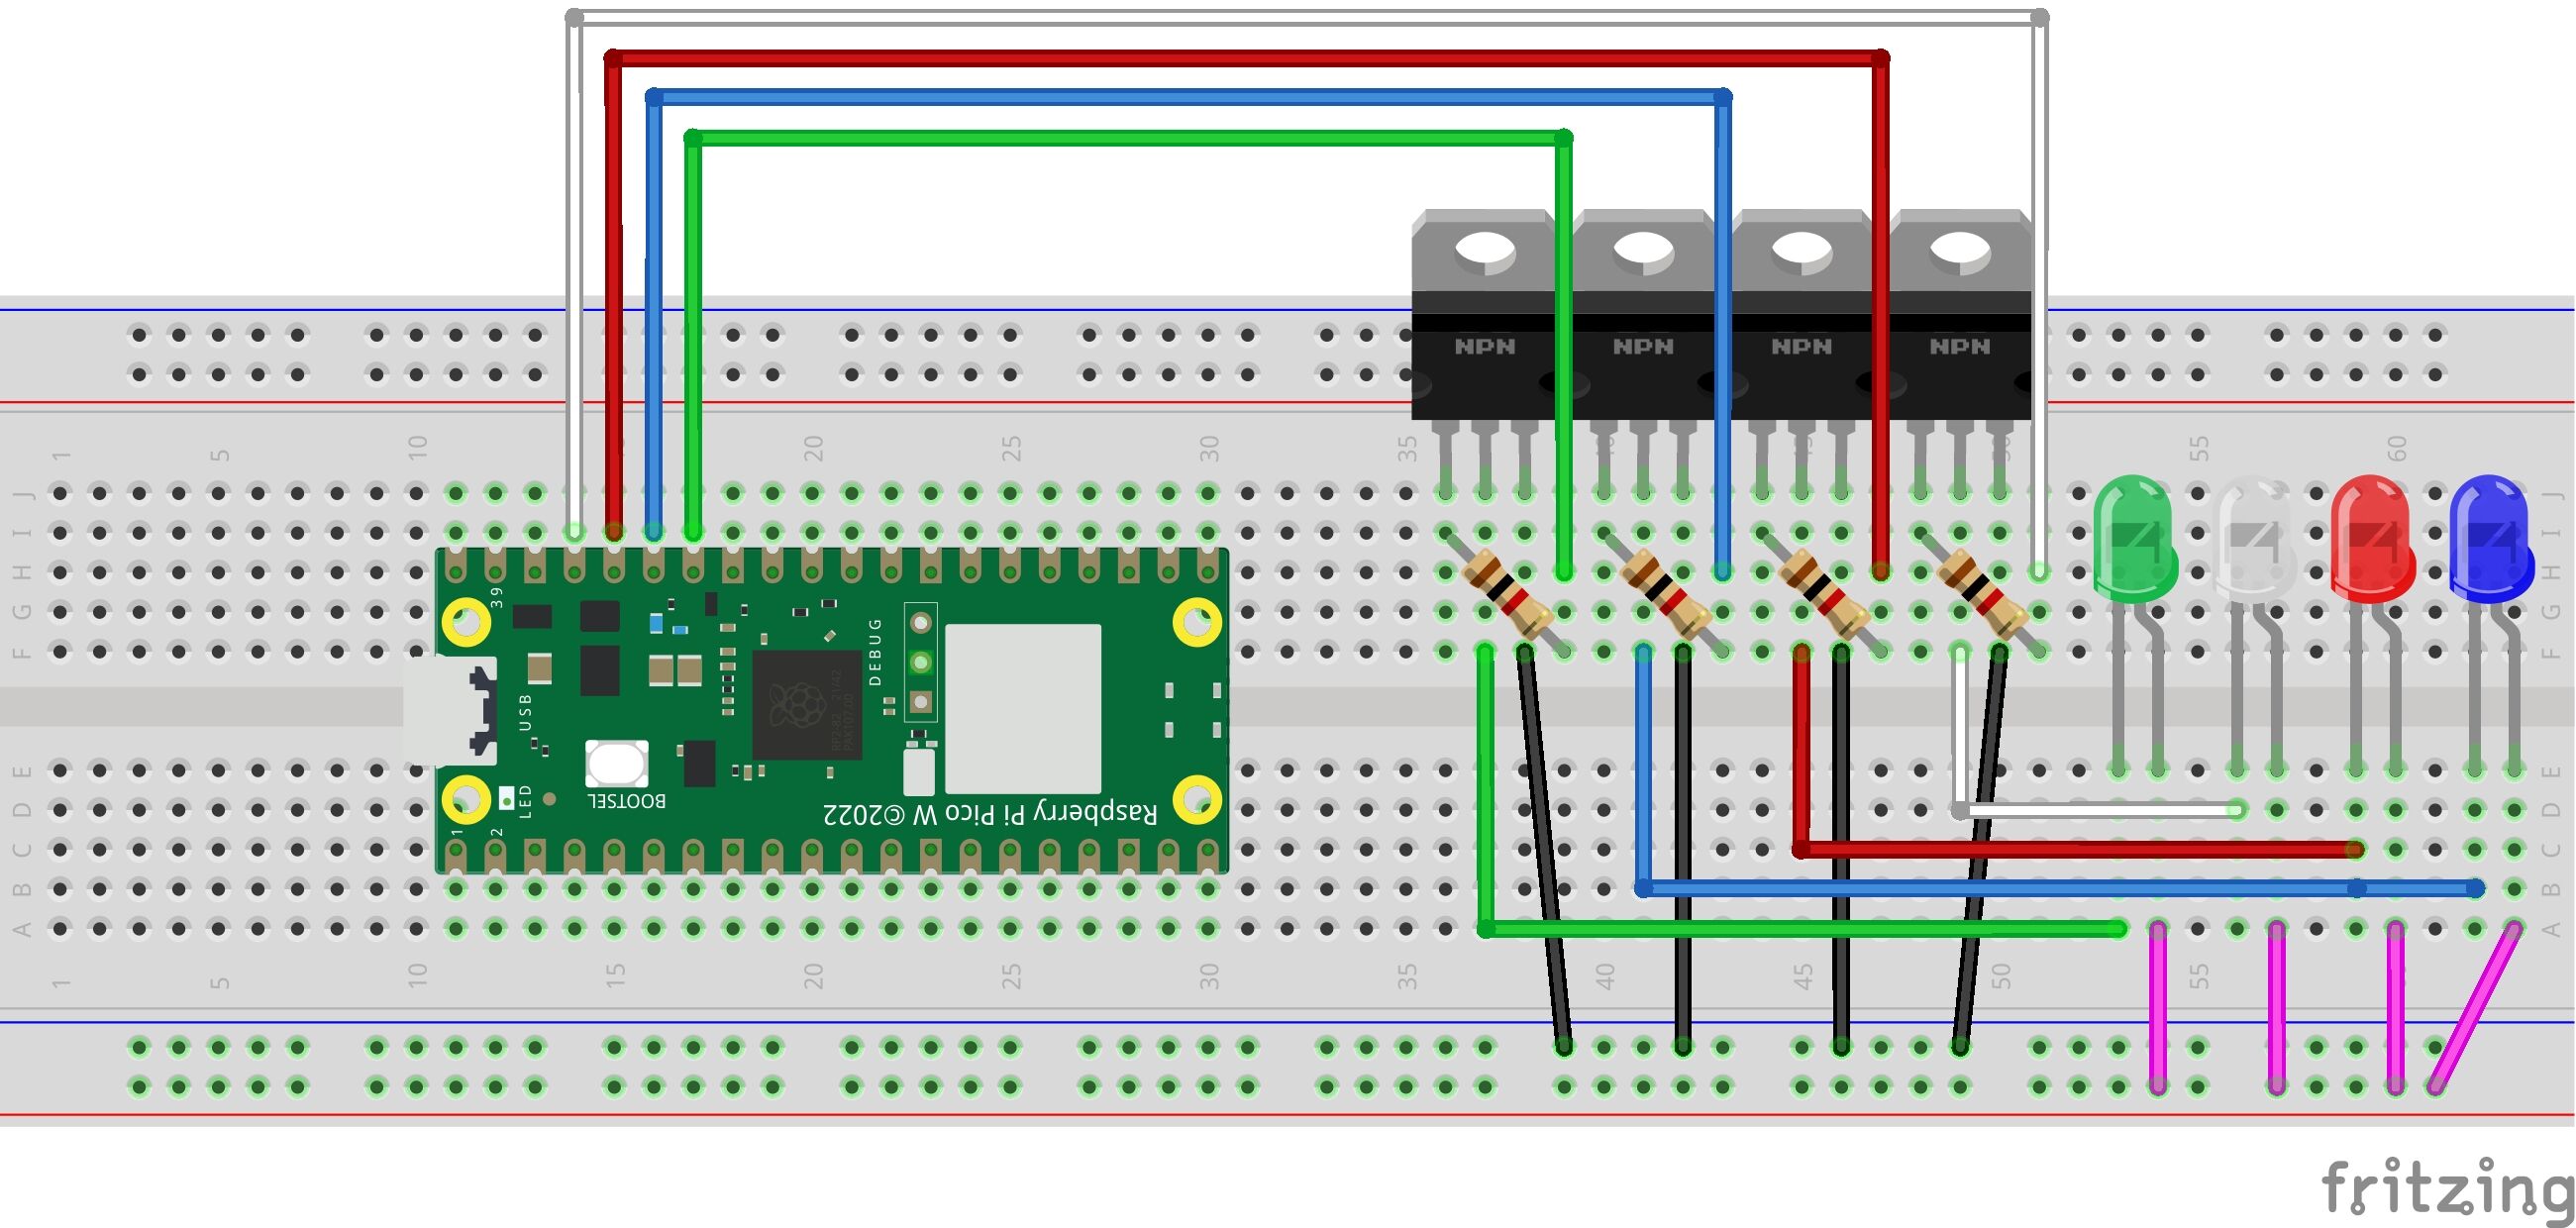
Get some high-quality (neutral) white led strips, add an RGB strip and control them using a microcontroller (RPi Pico W in my case). Since the microcontroller can't control the strips directly, I would need some transistors and, of course, a power supply.
Parts You'll Need
- RGB Strip (RGB/24v)
- White LED Strip (4000K Natural White/24v 528 LEDs/5m)
- TIP 122F Transistor
- Raspberry Pi Pico W
- Header for the Pico
- Some prototyping board
- Some 1kΩ resistors
- Cables
Let's build it!
The PCB first
Ok, the PCB is really simple. I've create a Fritzing sketch for you to see how everything should be connected. Please note that the LEDs are placeholders.
My result
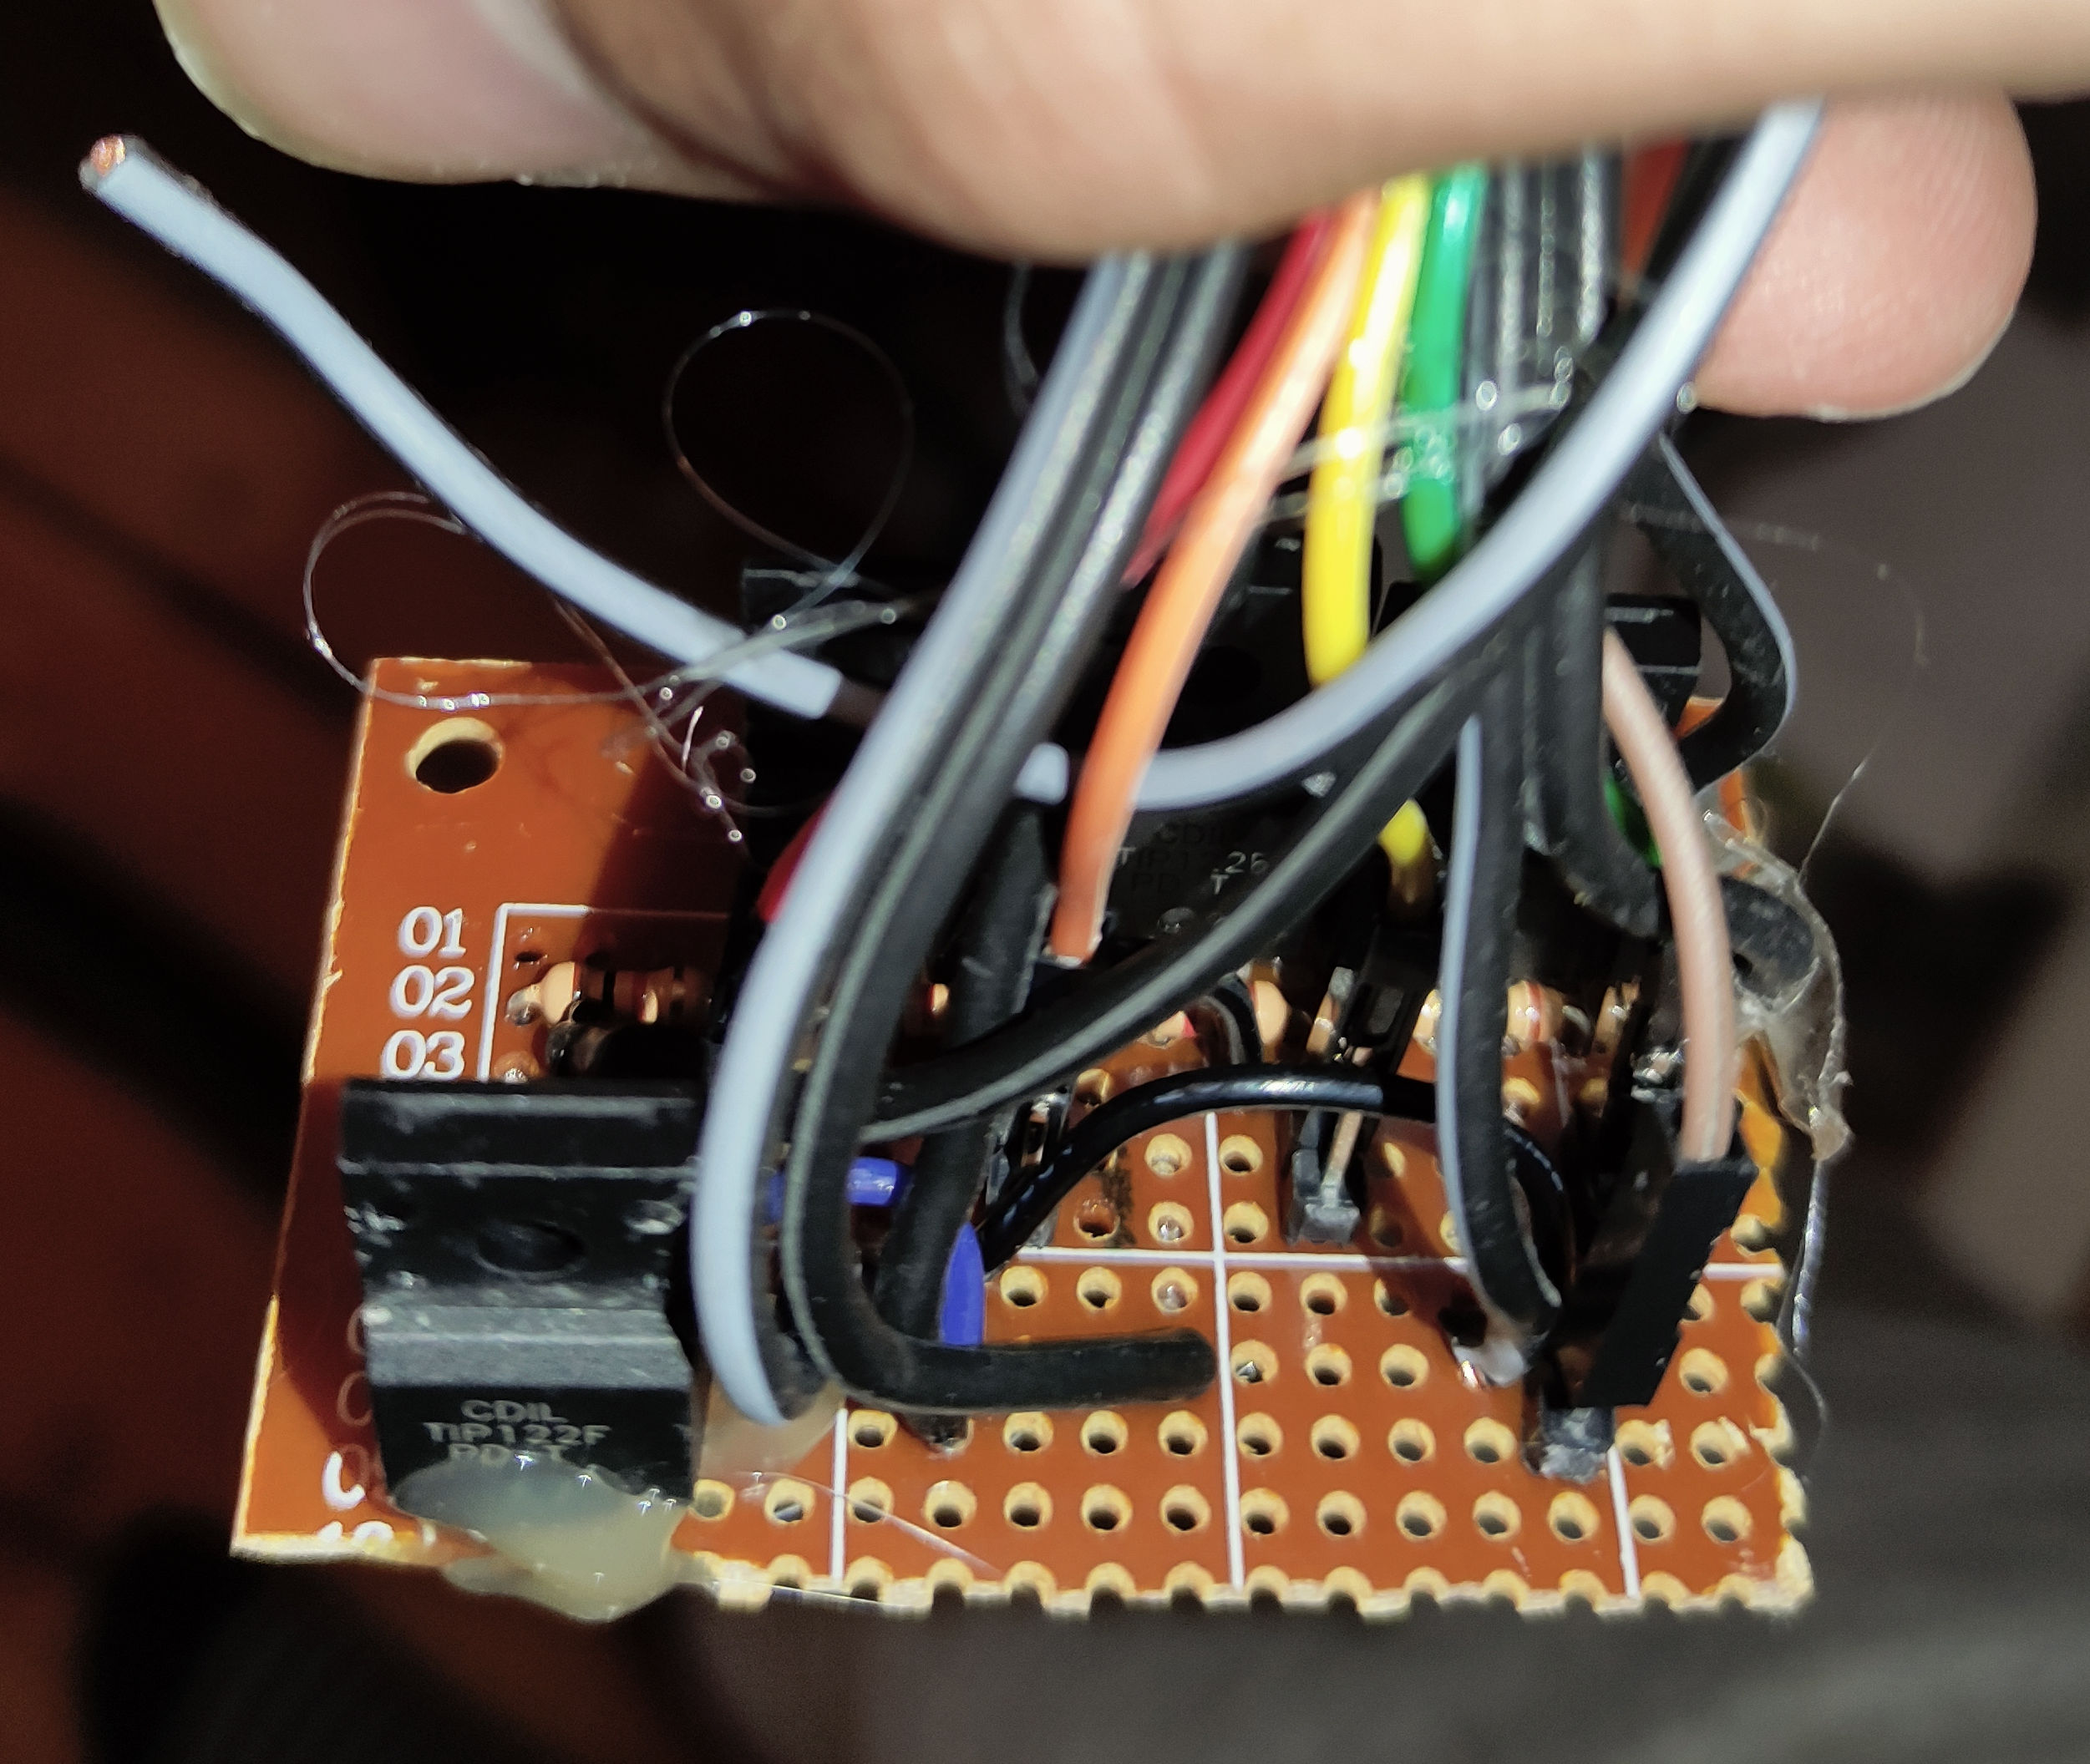
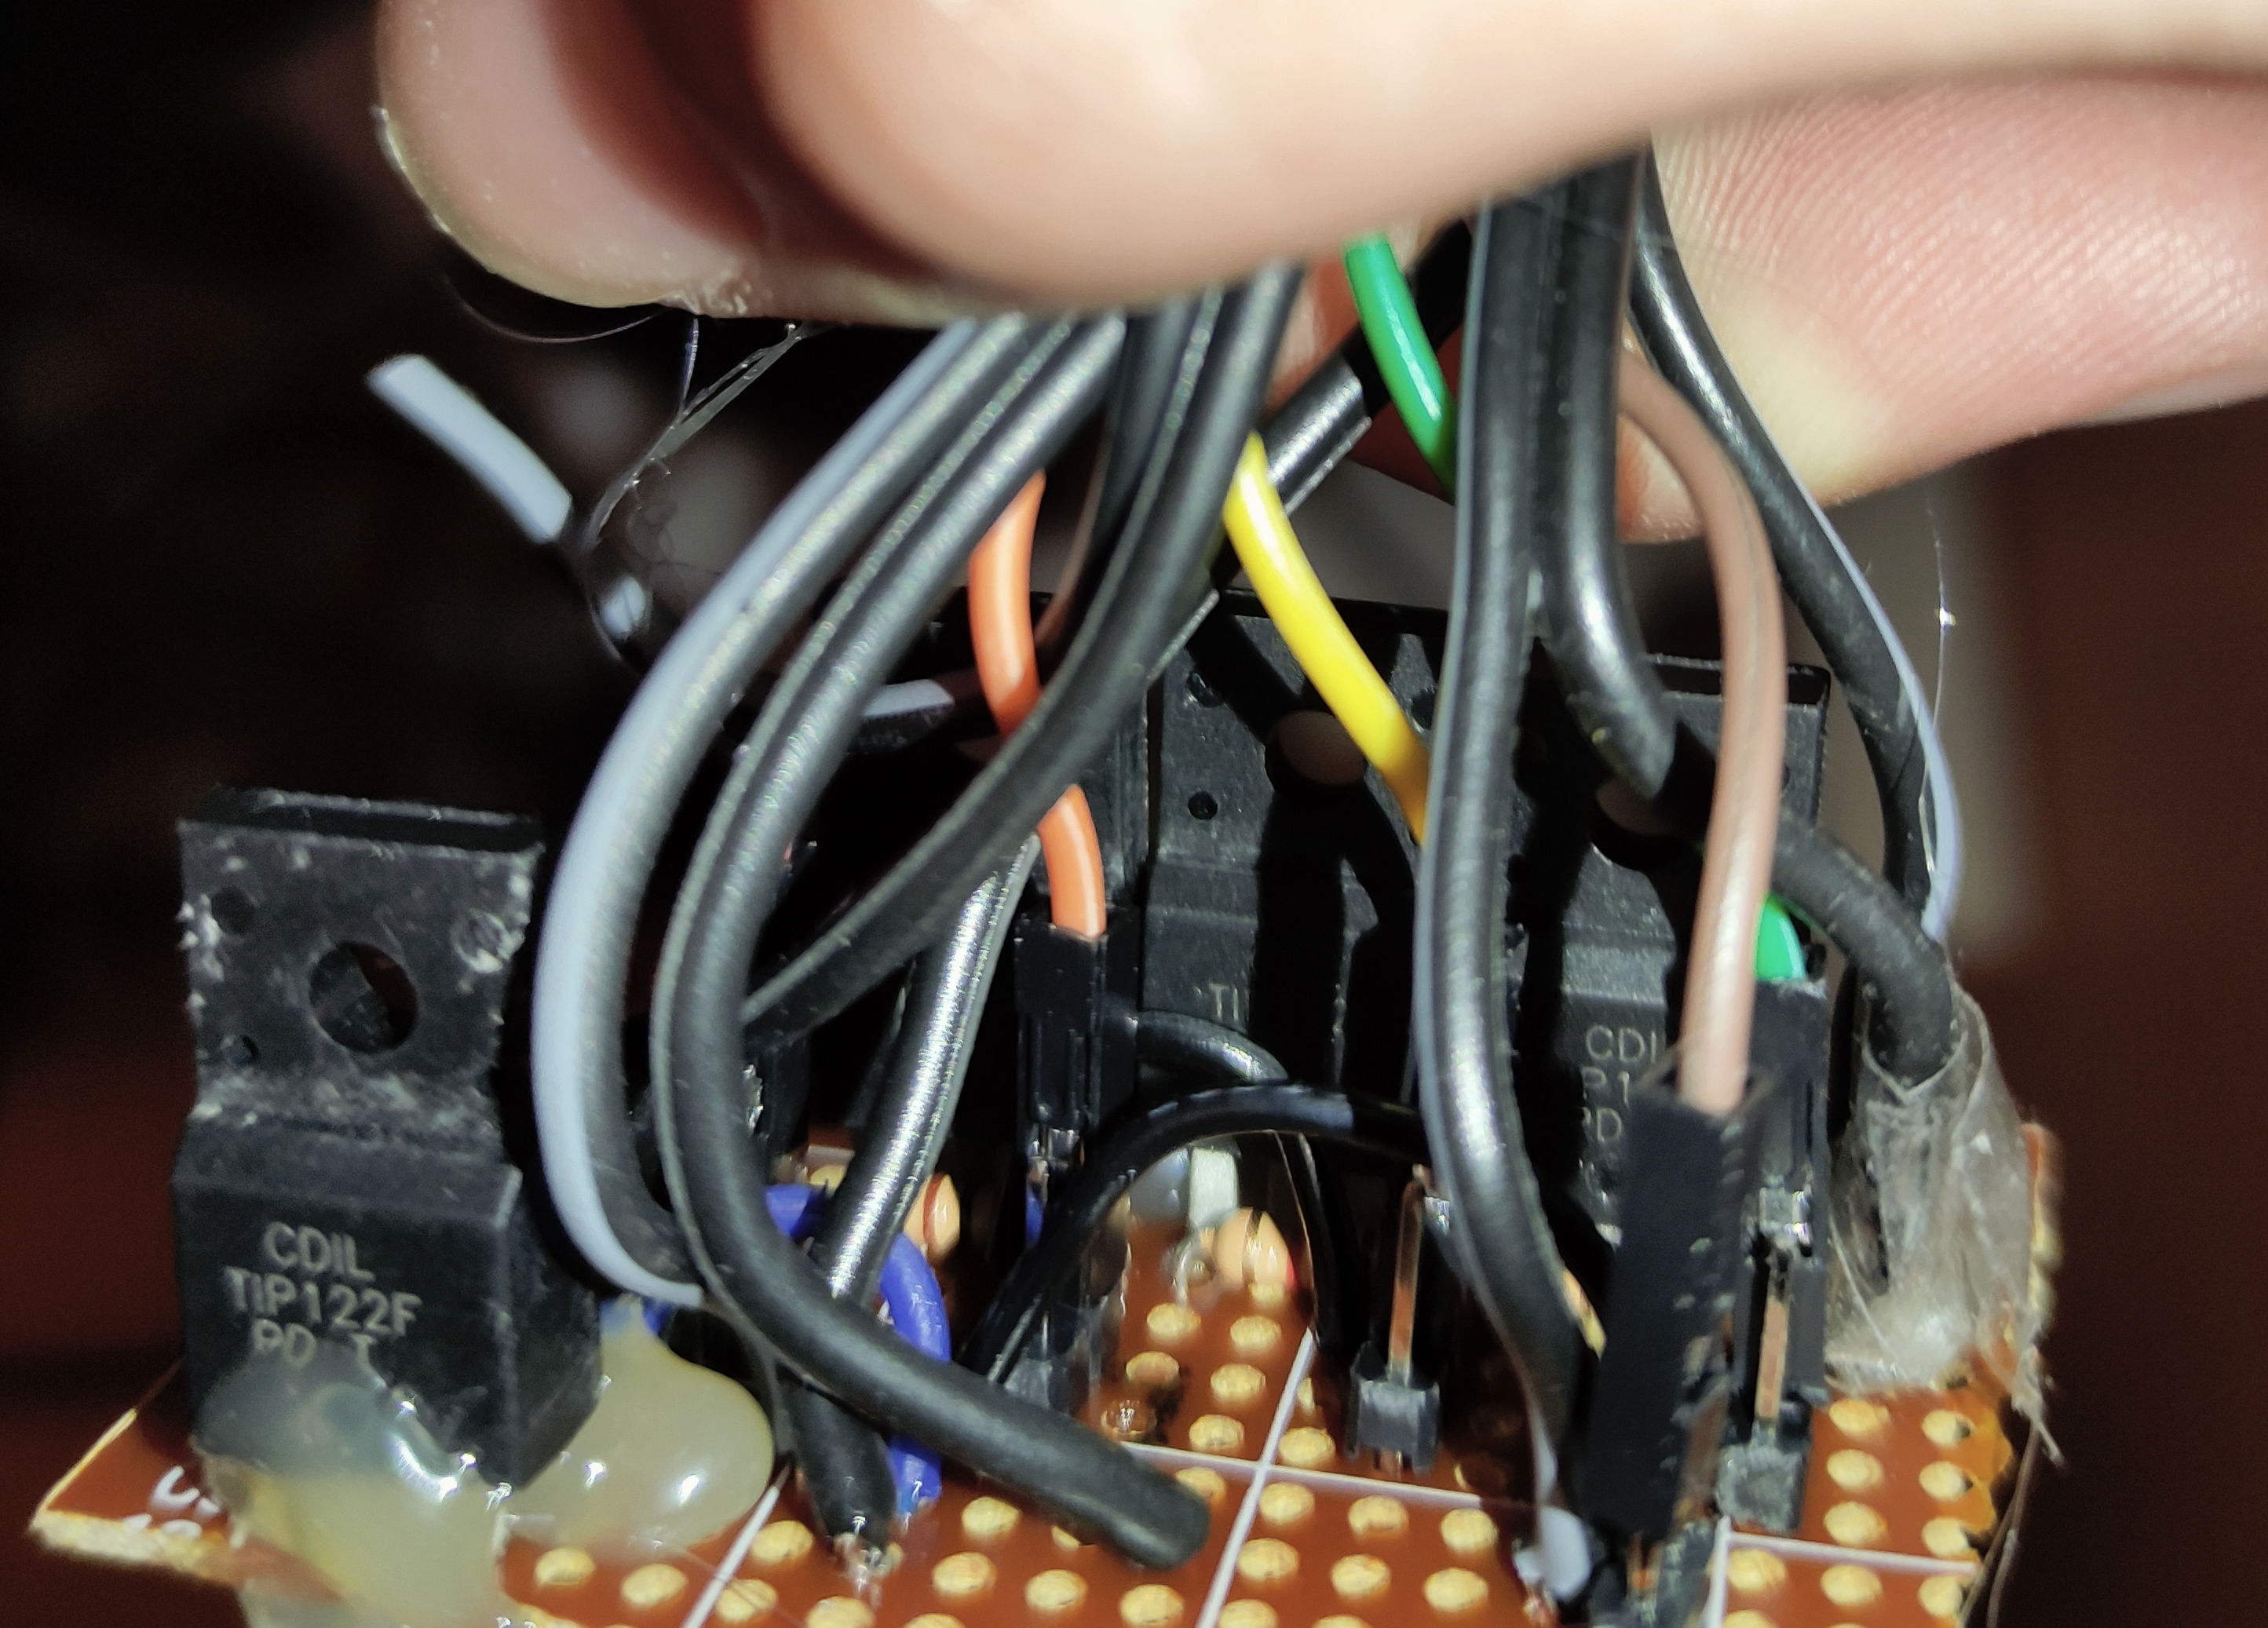
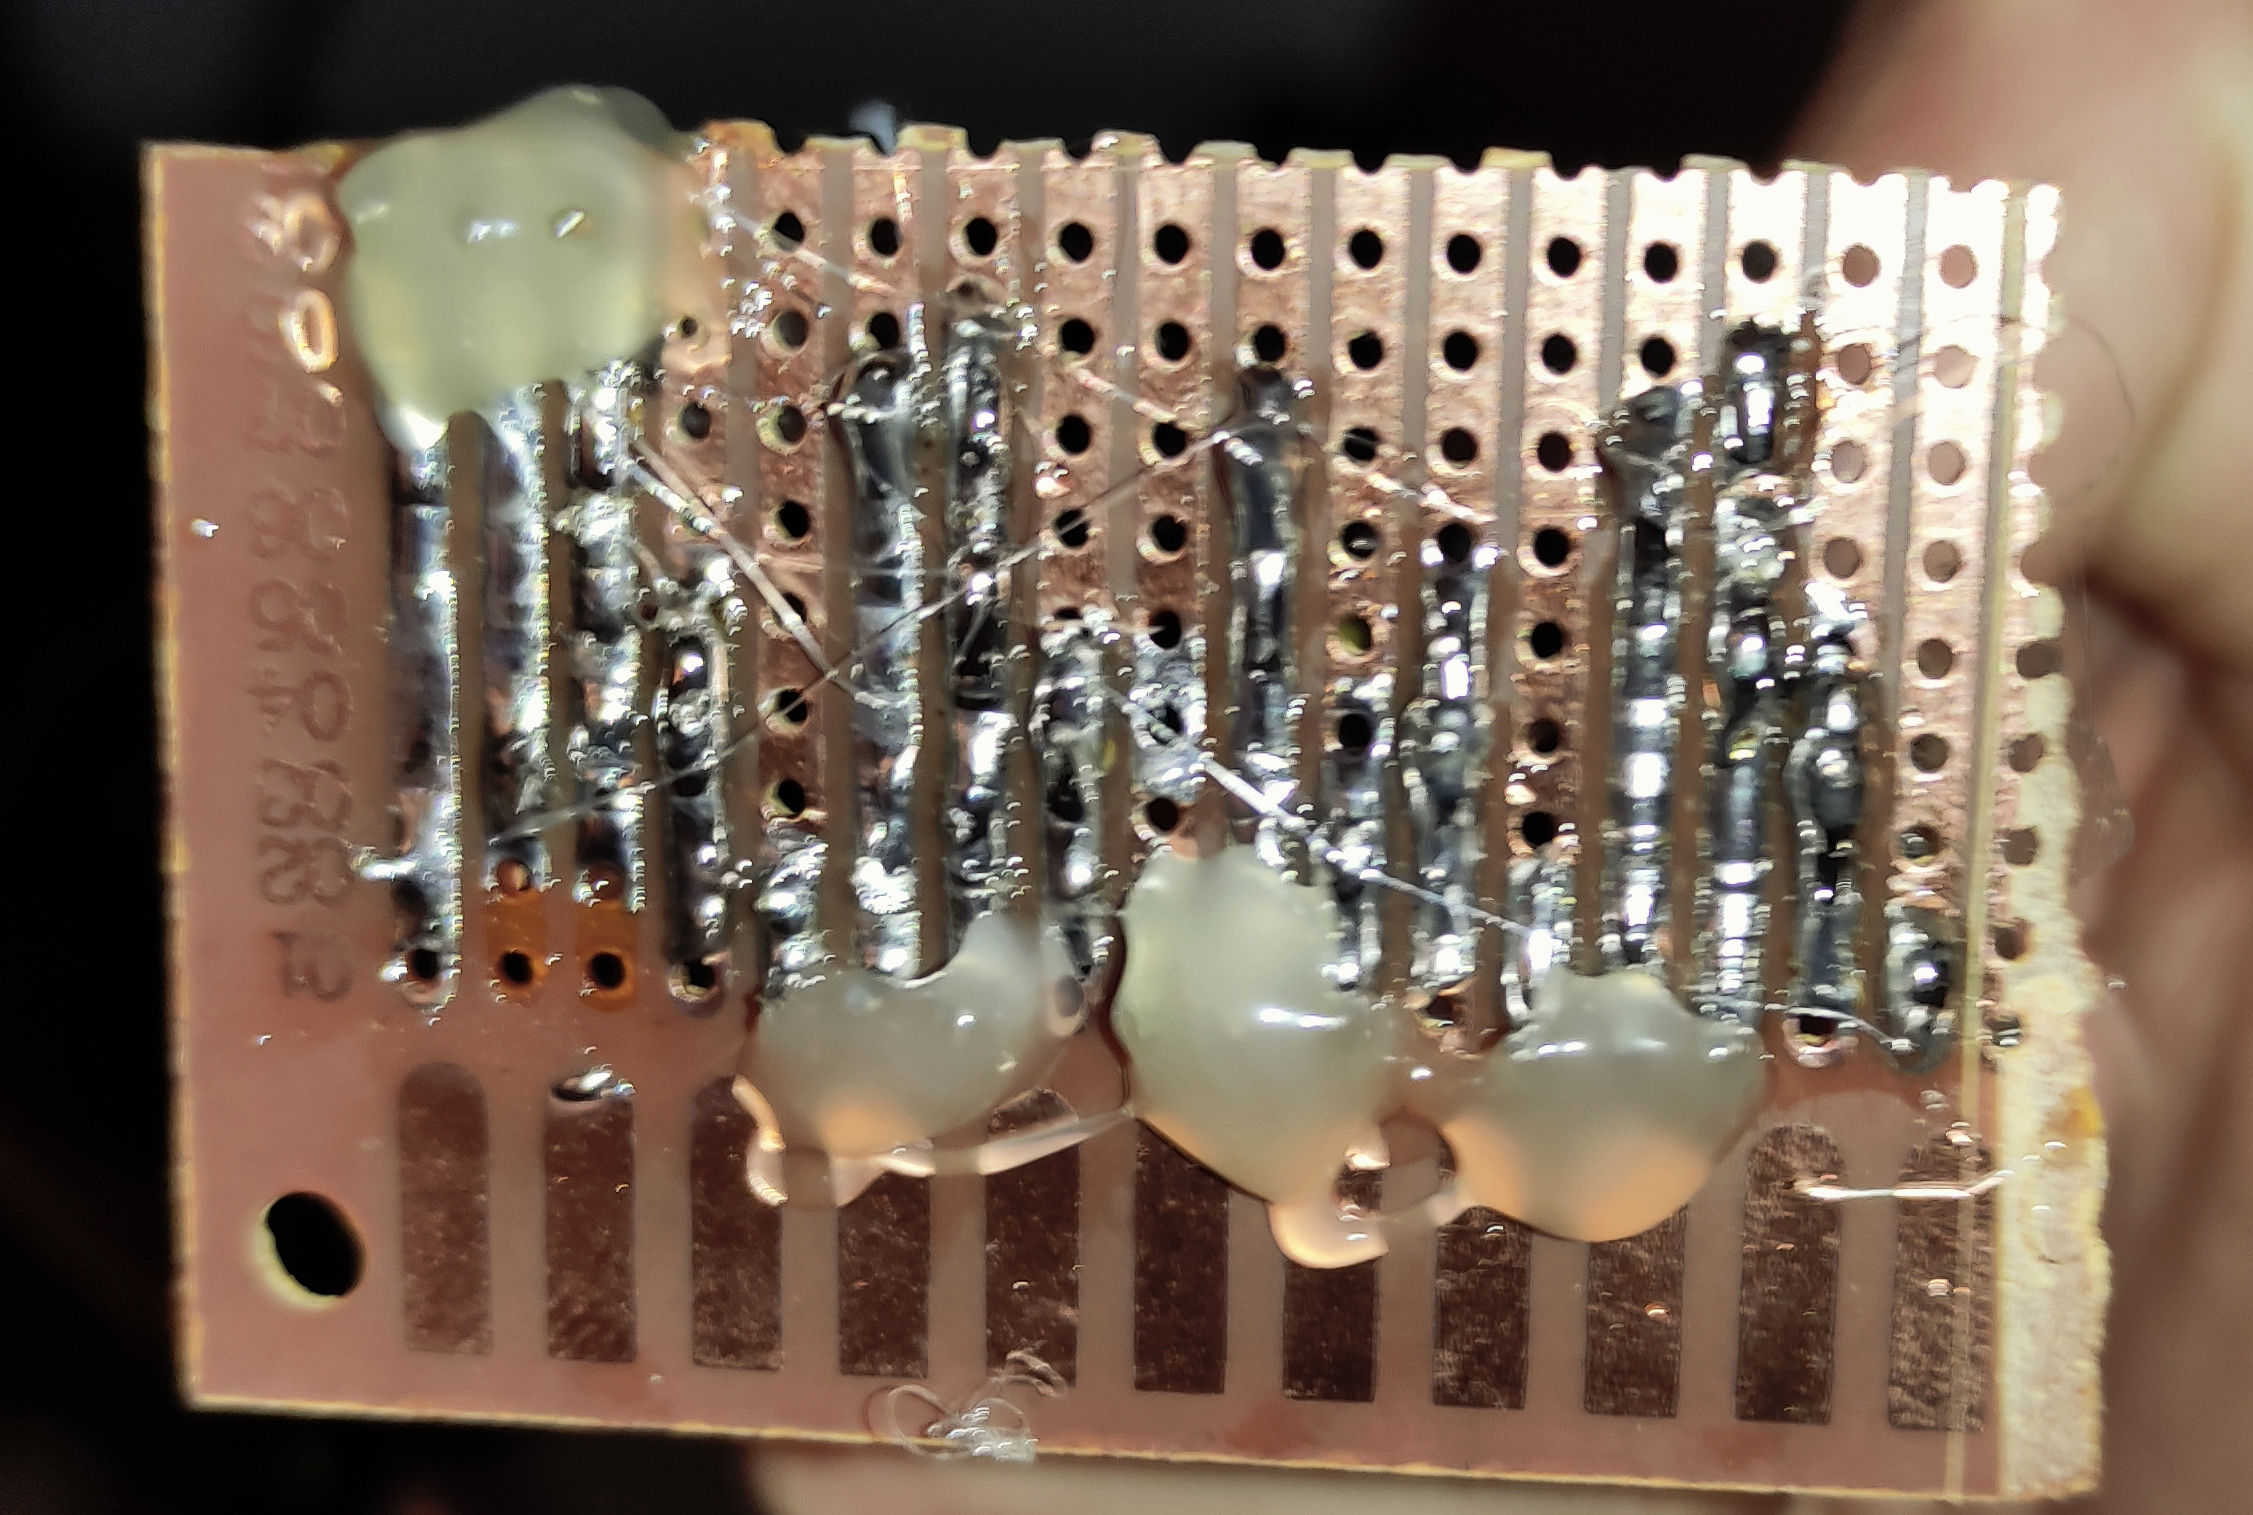
I think that I have to justify some things. First: Why is one transistor at another position? Answer: The traces broke at the original position, as you can clearly see in the picture, so I hot glued the transistors in place as well so the traces don't break again. That said, the PCB is really simple. It just looks so full because of all the thicc cables to the LEDs.
Now the "case"
For the "case" I've used an aluminim plate, relatively thin and I've added some plastic (the plastic that was used for protection during covid) below it to protect the LEDs from water splashes. I've designed the holder myself and you can find it on Printables.
ESPHome
Here's the config-file:
light:
  - platform: rgb
    name: "Color"
    red: red
    green: green
    blue: blue
  - platform: monochromatic
    output: white
    name: "White"
output:
  - platform: rp2040_pwm
    id: white
    pin: GPIO2
  - platform: rp2040_pwm
    id: blue
    pin: GPIO3
  - platform: rp2040_pwm
    id: red
    pin: GPIO4
  - platform: rp2040_pwm
    id: green
    pin: GPIO5
Result
Light
At first, we got my 10w Philips LED bulb
Now, the dimmed and red version
Dimmed, blue
Dimmed, green
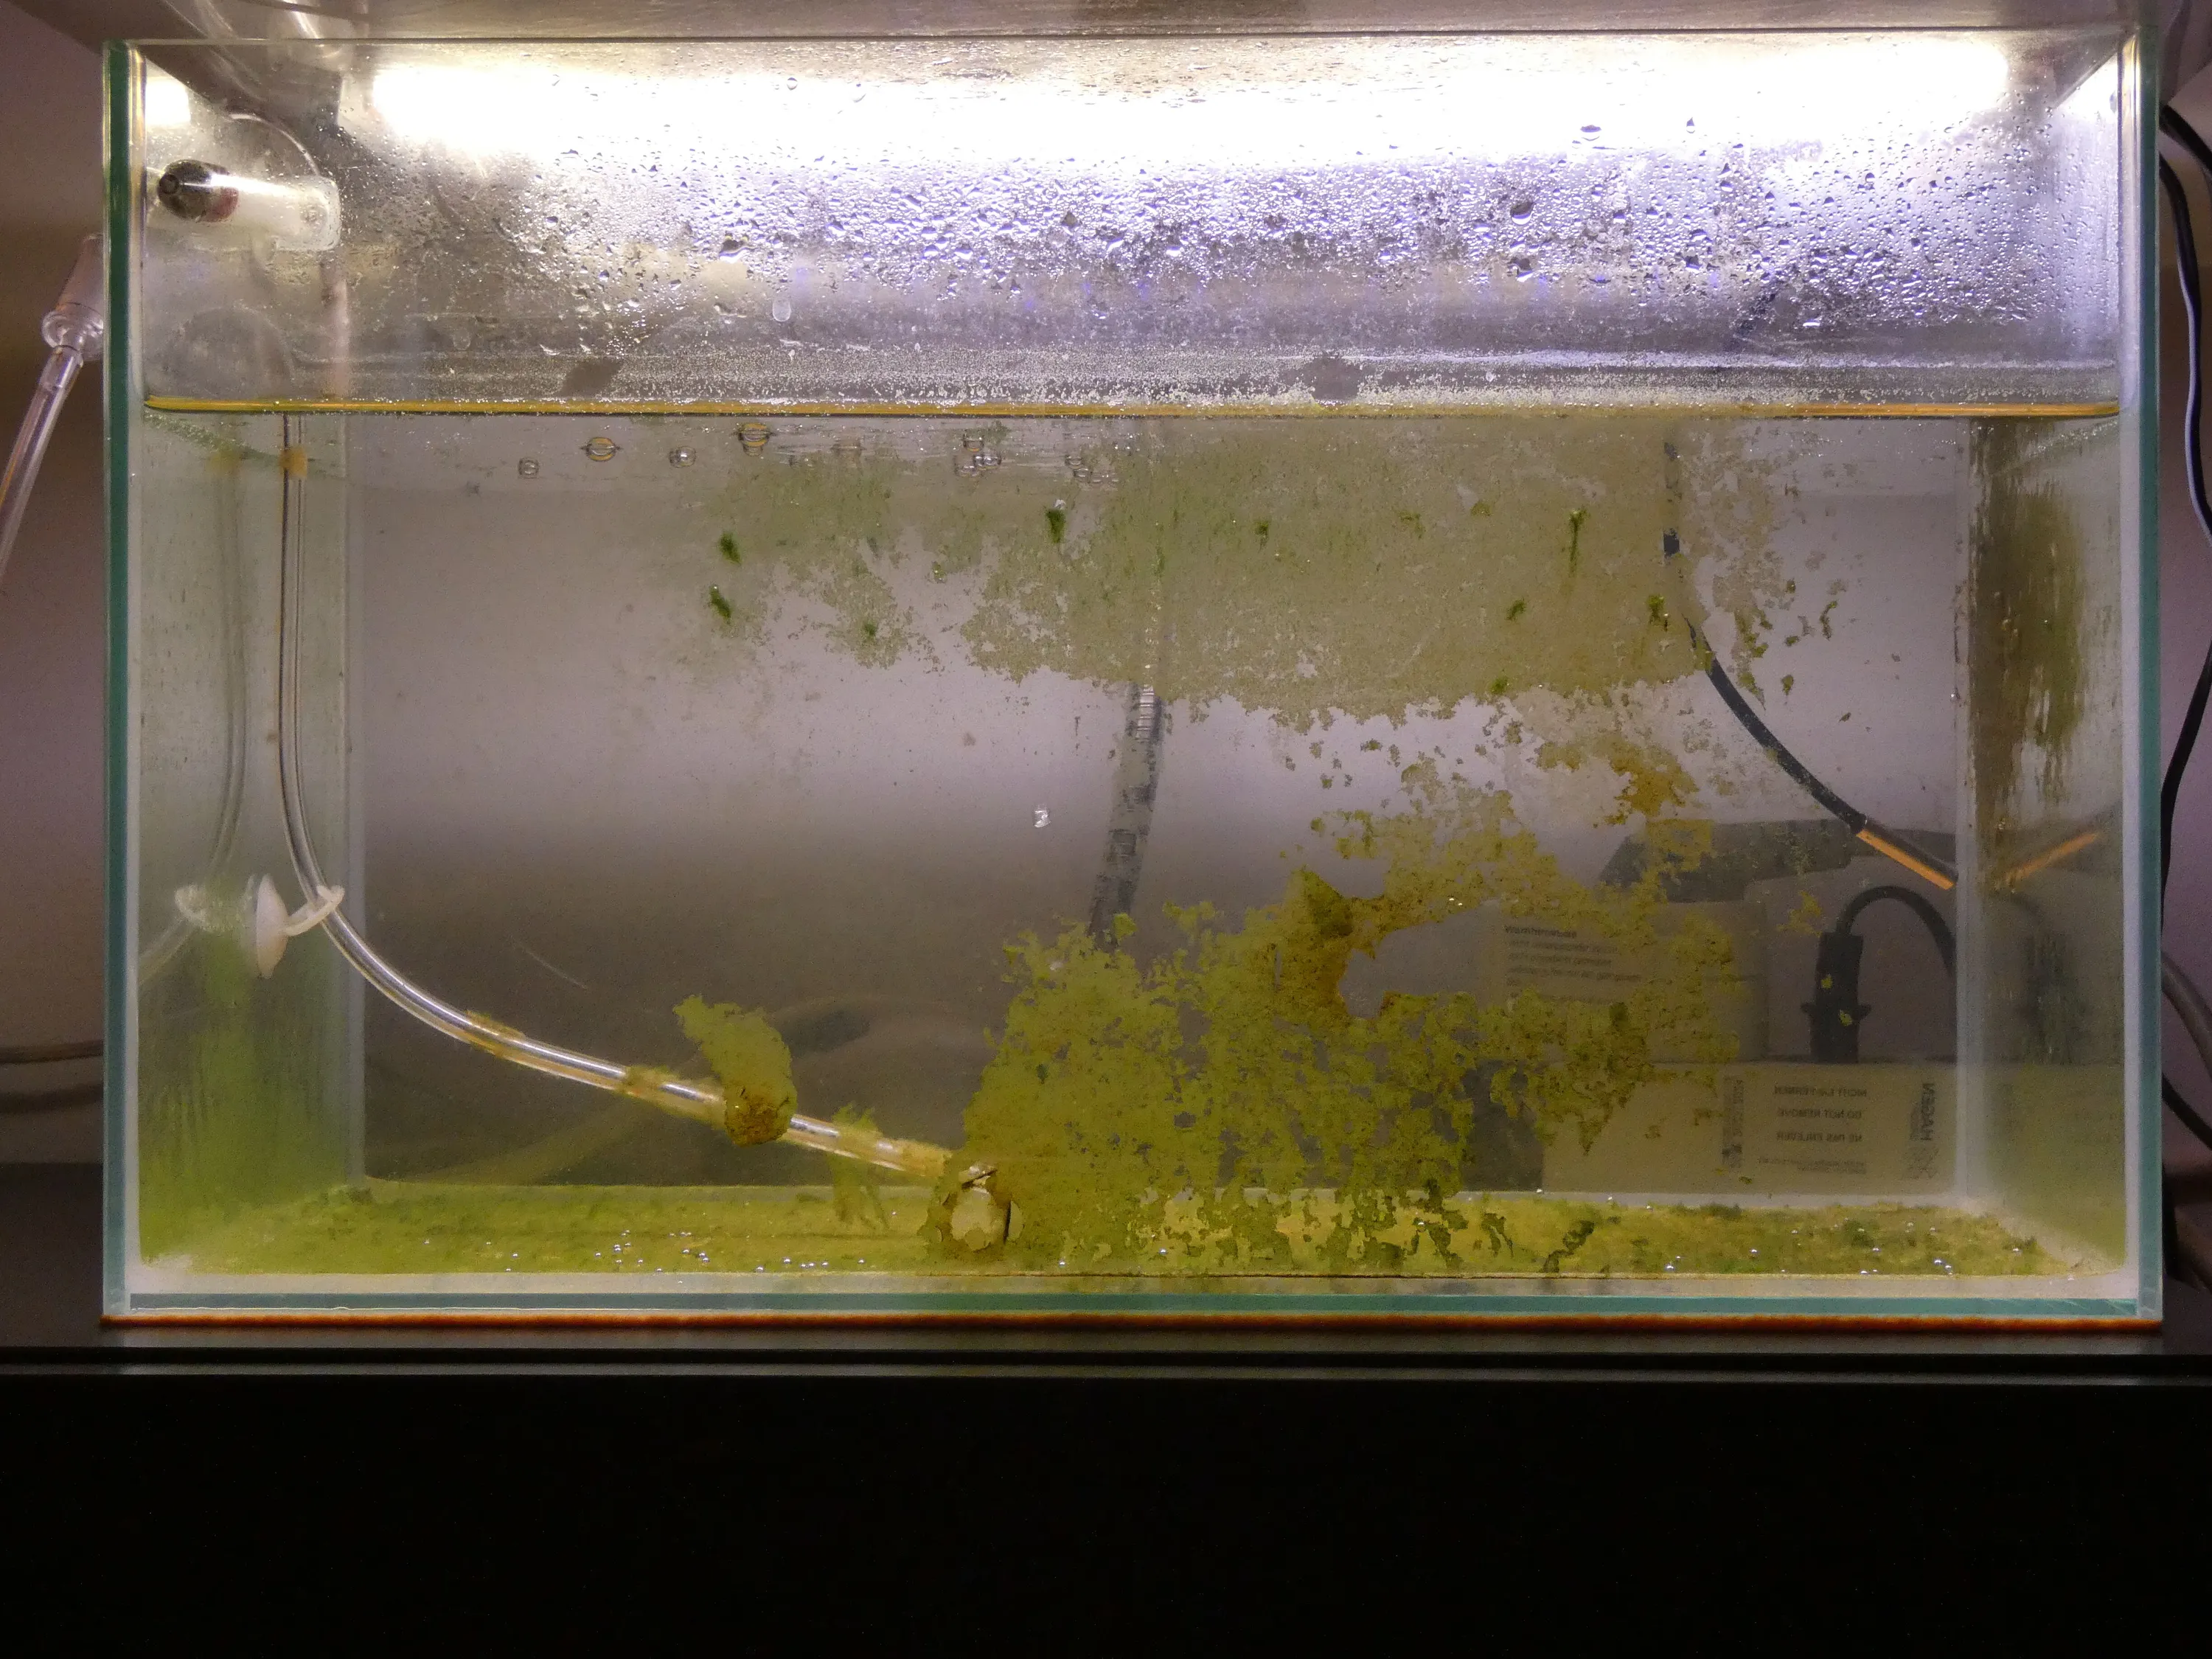
 The flickering is invisible to me
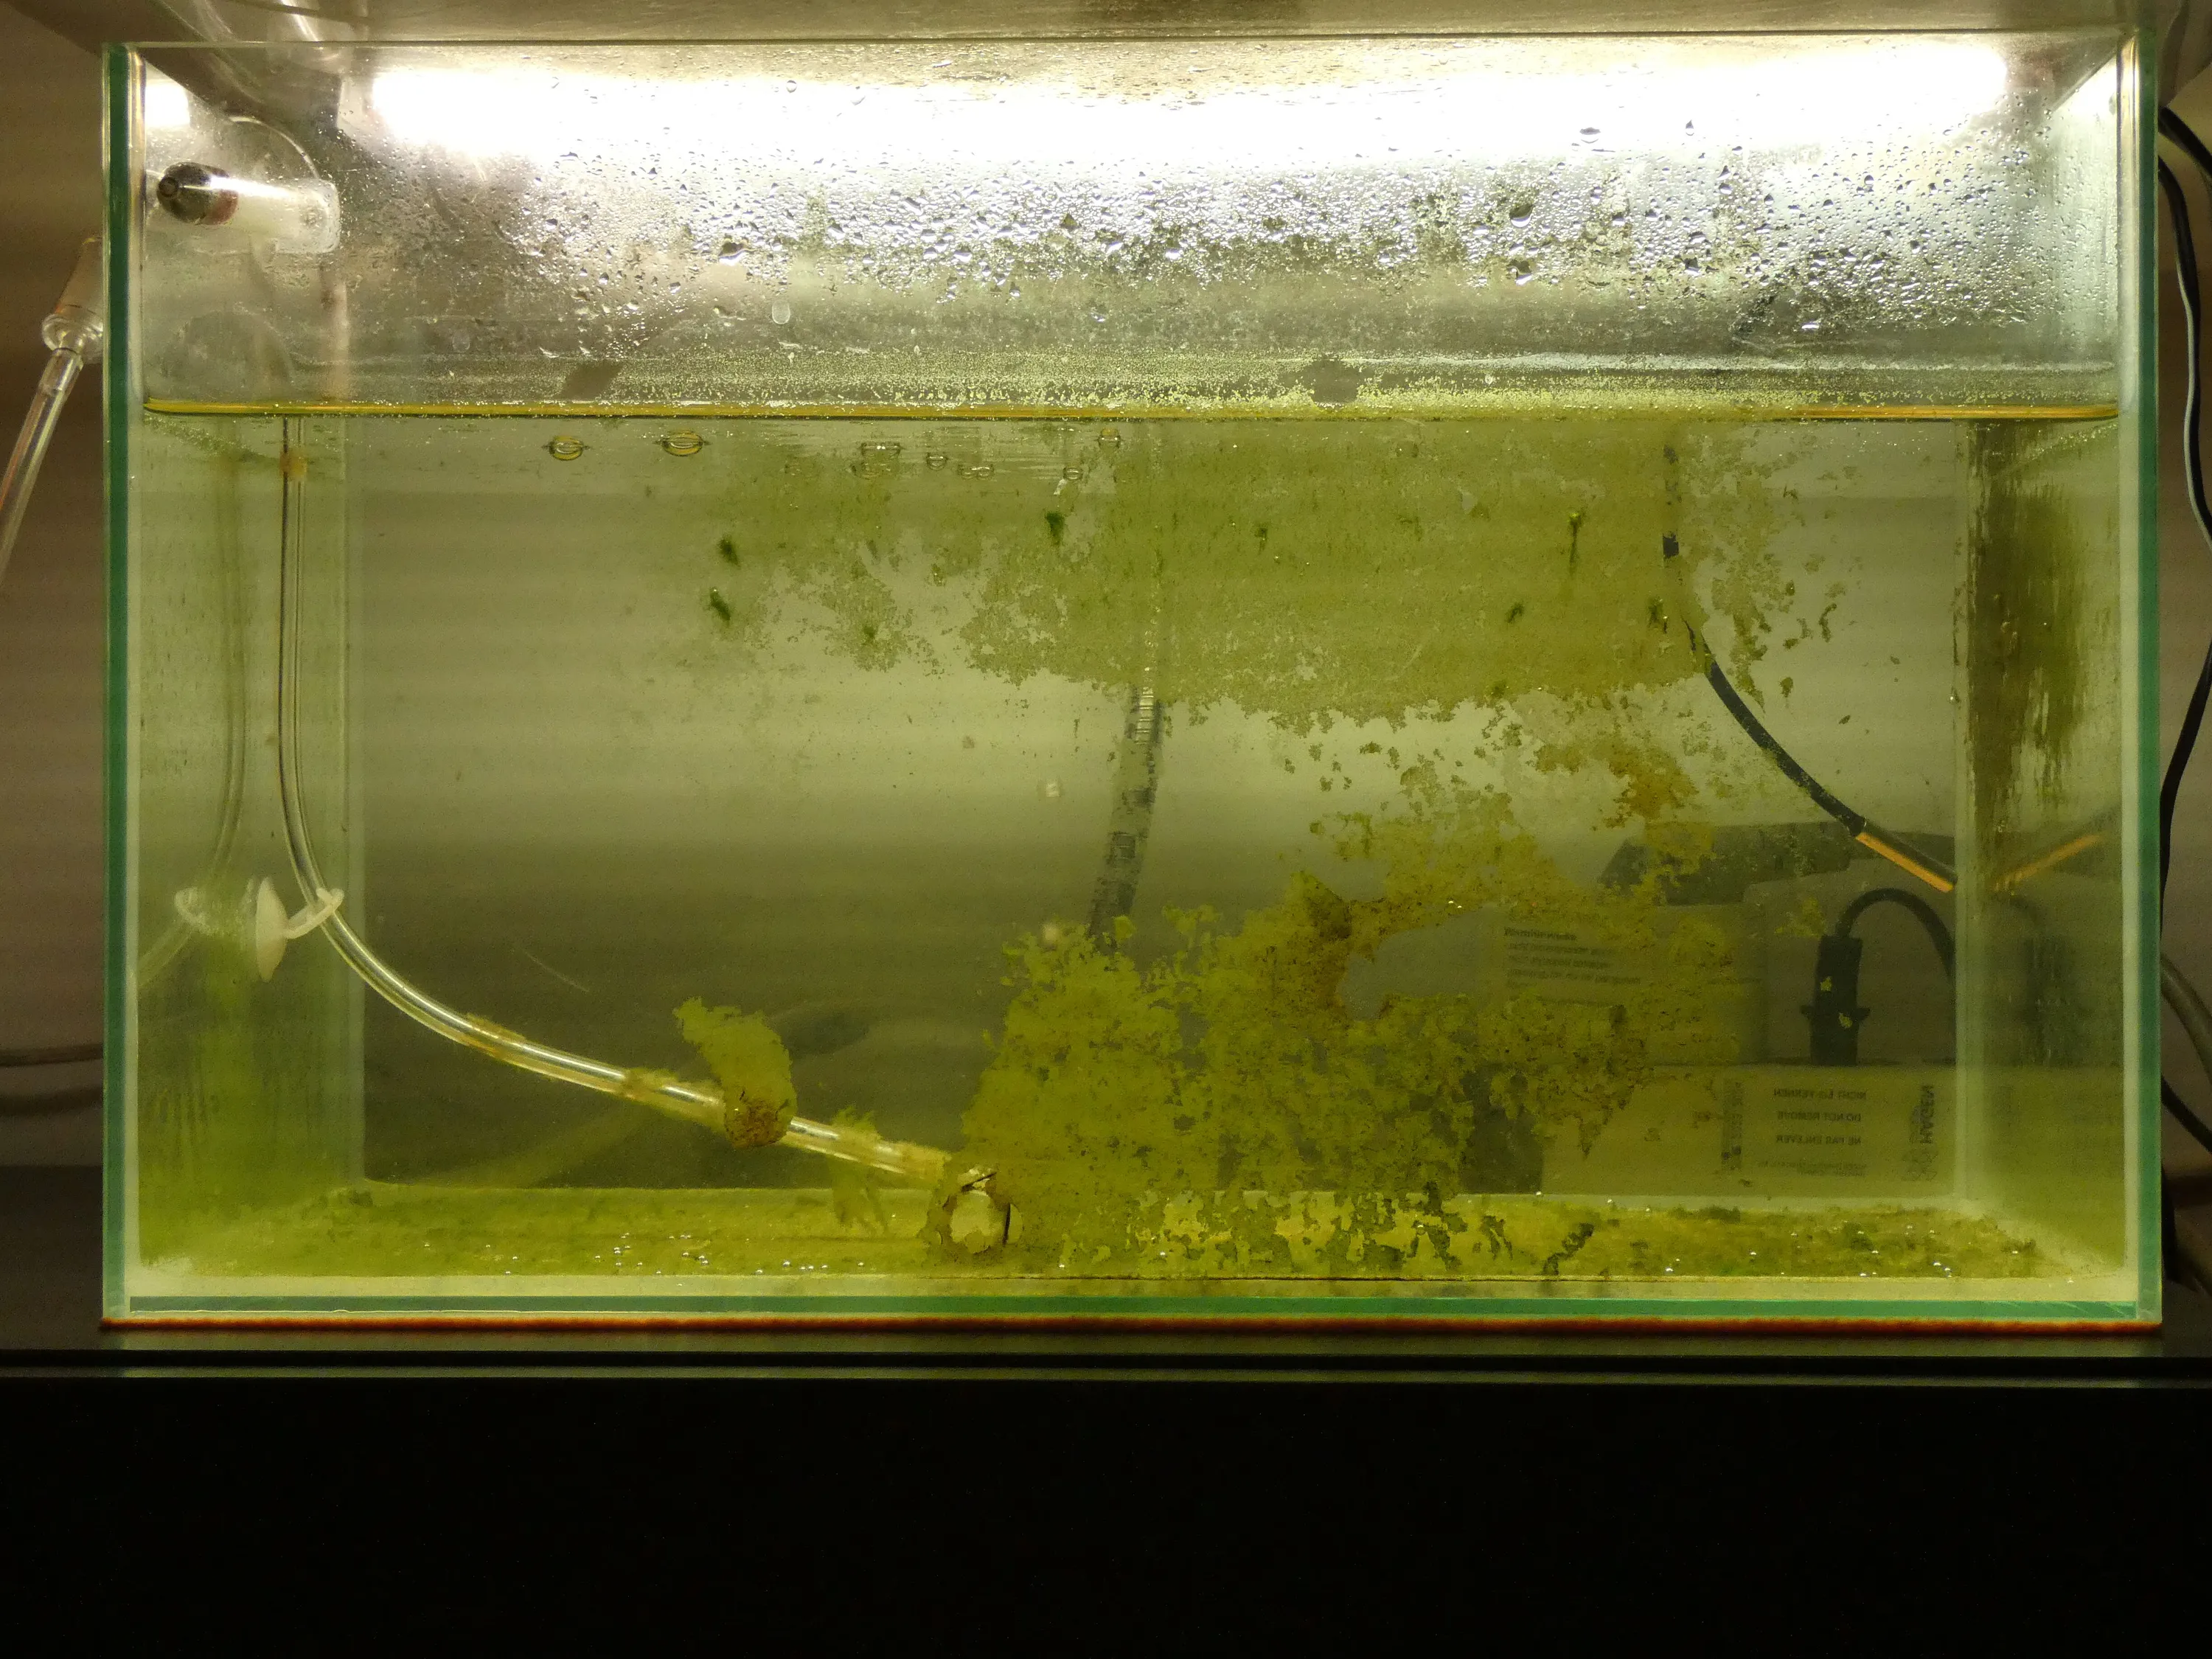
Now the full-brightness pictures. I've chosen different colors, which you can clearly see!